
6 House Painting Myths You Need to Stop Believing Today
May 12, 2019
When to use Oil Based Vs Latex Paint.
May 26, 2019
When wood paneling is mentioned, an old, tired, and knotty wooden wall is what comes to the minds of most people. Many of them will picture walls that have yellowed or darkened over time. If your paneling in Warsaw or Syracuse Indiana fits this description, you might be wondering whether or not you should paint over it.
Paneled walls have been around for centuries, and when well preserved, they can offer classical, timeless beauty in any space. If they’re a little tired and rusty, their beauty can be preserved without necessarily interfering with their structure or tearing down the current finish. However, if you have some pine or walnut walls dating back to the 1800s or earlier, you might want to leave their exceptional beauty unaltered.
But, there is a fine line between classic and dated wood paneling. Less expensive wood paneling became commonplace in the twentieth century, and when this kind of paneling ages, it becomes dated rather than classic, and you might want to paint or stain it to restore its glory. If that is the case, we have some tips on how to paint over old and tired wooden paneling.
How to Paint Wood Wall Paneling
If your wood paneling is not particularly aging gracefully, you might be tired of its look, and giving it a fresh coat of paint can bring it back to life. Here are some quick steps to follow when painting over wooden paneling.
1. Clean the wall paneling
Dirt, dust, and grease can prevent the paint from properly adhering to the wood paneling that you intend to paint. Start by wiping off the loose dirt and debris and then wash the surface thoroughly with a solution of water and trisodium phosphate (TSP). Remember to use protective gear before handling the chemical –rubber gloves, respiratory mask, glasses, and full-sleeve clothing. Use the sponge damped in the solution to wash the wood paneling. If your paneling has any nail holes, fill them up with an appropriate filler compound using the putty knife. Allow the putty to dry completely before sanding your wood.
2. Sand the wood paneling lightly
Lightly sand the wood by “scuffing” it to create a slightly roughened surface for better primer adhesion. Preferably, use the 220-grit sandpaper and sand it in gentle circular motions. While a few DIY painters tend to skip the sanding process in favor of the primer, sanding ensures paint durability that won’t peel, chip, or flake prematurely. Once sanding is done, wipe away all the dust and residue generated using a damp cloth.
3. Caulk Cracks
If the paneling has any missing or cracked caulk, apply the new caulk in the gaps and cracks using a caulk gun. Pay close attention in areas around the door and windows, and where the paneling meets the baseboard. Caulking ensures an even and polished look at the end of the painting. Check the label for how long you should allow the caulk to dry. After that, cover the floor along the paneling wall using drop clothes to avoid running your carper or tile with paint drips.
4. Paint Paneling
As earlier mentioned, you always want to start with a primer to ensure superior paint adhesion and durability. You should preferably use a roller with a medium nap when applying the primer and paint. If you can find one with a long adjustable handle, you will experience more flexibility. Prime the paneling with a latex, stain-blocking primer, followed by two coats of latex wall paint once the primer has dried.
Bottom line
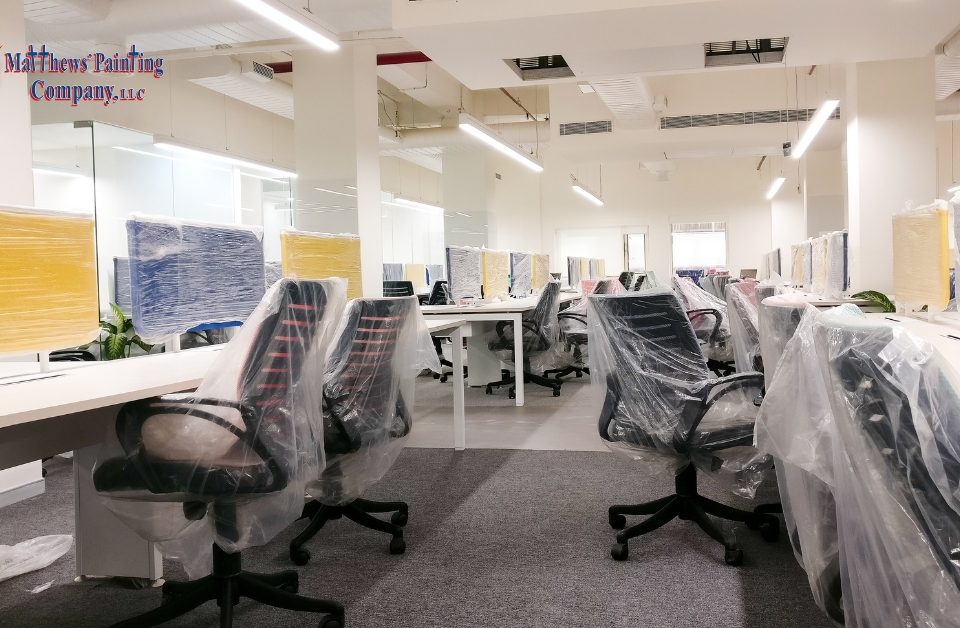
Yes, the wooden paneling can be painted; however, without following the right steps, you might end up regretting the decision. If you don’t have the skills, experience, and tools to accomplish the task, you should probably consider hiring a professional painting company like Matthews’ Painting.
We’ve been proving profession interior and exterior painting and staining services in the areas of Warsaw, Syracuse, Lake Tippecanoe area, Winona Lake area, Columbia City, Indiana, and surrounding Indiana cities for over 20 years now. We always strive to deliver the best quality. Book a FREE estimate below or give us a call 574-834-3575 if you need any additional information