

Our 7-Year Warranty Protects Your Investment
October 29, 2025
2025 Young Entrepreneur $1000 Scholarship (Y.E.S.) Winner: Aleena Christner of Leesburg
November 19, 2025
Expert DIY Painting Tips from Jason Matthews, Owner of Matthews’ Painting Company
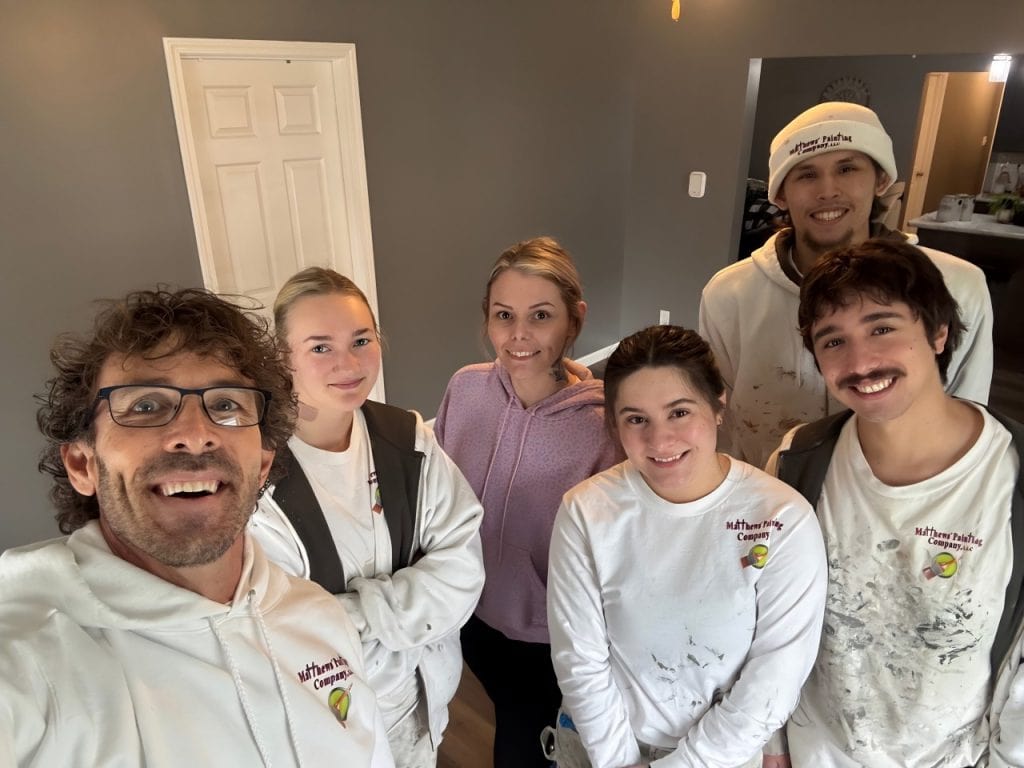
At Matthews’ Painting Company, we take the time to train every new employee with the same professional techniques our crews use in customers’ homes every day. In this tutorial, owner Jason Matthews demonstrates a simple but important step for any interior painting project—how to safely remove outlet and light switch covers and apply masking tape to the outlets and light switches to protect them from paint.
Whether you’re a DIY painter or a professional looking to refine your technique, this step-by-step guide will help you achieve clean, professional results while keeping safety top of mind as you learn how to expertly tape over outlets and light switch covers.
Step 1: Remove Outlet and Light Switch Covers
Before applying any tape to your outlets and light switches, always remove the outlet and light switch covers. Use a screwdriver to loosen the screws, then carefully lift off the covers.
Pro Tip:
Keep your covers and screws organized. At Matthews’ Painting Company, our painters place all hardware into a small bucket or a plastic bucket liner as they move through a home, or put the screws back in place. This prevents losing screws in drop cloths or across work areas—a common frustration on job sites.
Step 2: Measure and Apply Masking Tape
Once your covers are off, it’s time to tape over the outlets and switches.
- Tear a piece of tape roughly the length of the outlet or switch.
- Apply the tape across the top of the outlet first, pressing firmly to ensure good adhesion.
- Wrap lightly down and around the bottom edge, just enough to cover the outlet or switch and protect it from paint splatter.
There’s no need to wrap the tape too tightly or push it deep behind the plate area. The goal is to protect the surface, not seal it.
Step 3: Avoid Common Mistakes and Stay Safe
A frequent mistake DIY painters make is tucking the tape too far behind the switch or outlet. Jason cautions against this.
“If you start tucking the tape, you can get into the screws that have live voltage, which could lead to a shock hazard,” he explains.
Instead, keep the tape surface-level and avoid pressing it near the metal screws on the side of the outlet or switch. This prevents potential electrical hazards while still ensuring clean paint lines.
Step 4: Check for Clean Paint Coverage
Before painting, double-check that your tape doesn’t overlap onto the wall. Any gaps or lifted edges can lead to unpainted spots or uneven lines once the tape is removed.
A properly taped outlet should cover the outlet face while leaving the wall edges exposed for full paint coverage.
Professional Painting Tips for DIY Projects
If you’re tackling a DIY interior painting project, remember: preparation is everything. Taking a few extra minutes to properly remove and tape outlets can save you hours of cleanup and touch-up later.
At Matthews’ Painting Company, our crews follow these same training techniques on every job to ensure professional, durable, and detailed results.
Watch the Full Tutorial
For a visual walkthrough from Jason Matthews himself, watch the full video on our YouTube channel:
How to Apply Masking Tape Over Outlets and Light Switches
Ready to Protect Your Home (and Get a Flawless Paint Job)?
At Matthews’ Painting Company, details matter—from the way we tape carpet to the way we finish trim. That level of care is what sets us apart and ensures your project looks sharp and professional.
Now Booking Interior Residential & Commercial Projects
Fall and Winter are the perfect seasons for interior painting. Whether you’re freshening up trim at home or giving your business a more professional look, our skilled crew is here to help.
Call 574-834-3575 or schedule your free quote online!

