
Drywall Repair: Fix an Inside Corner with Paper Tape like a Professional
January 29, 2025
Learn How to Safely Raise and Lower an Extension Ladder with Matthews’ Painting Company
February 13, 2025
Drywall repair is a skill that can make a significant difference in the appearance and longevity of your walls. Proper technique ensures a seamless, professional finish that blends perfectly with the surrounding surface.
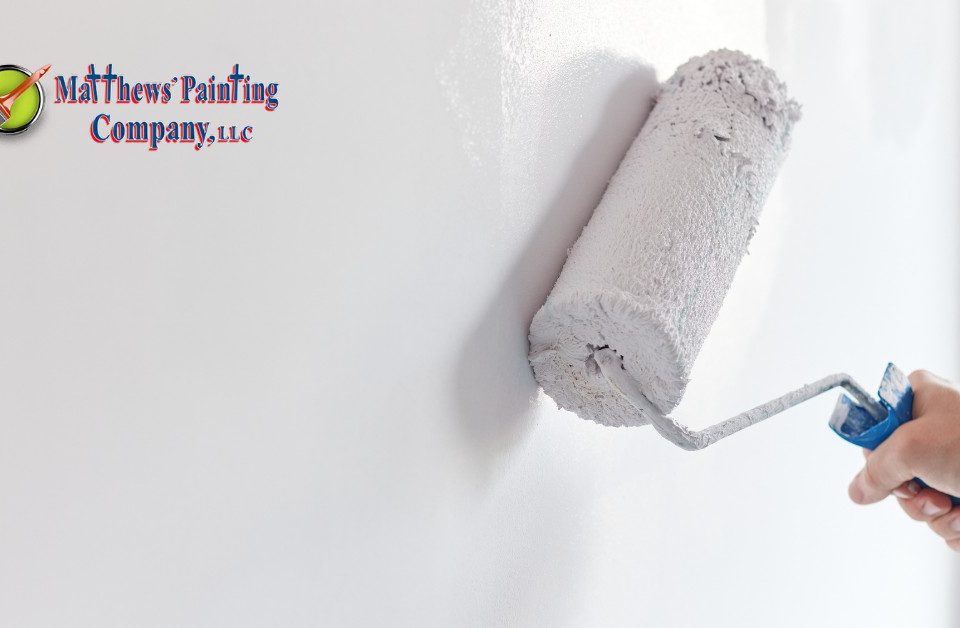
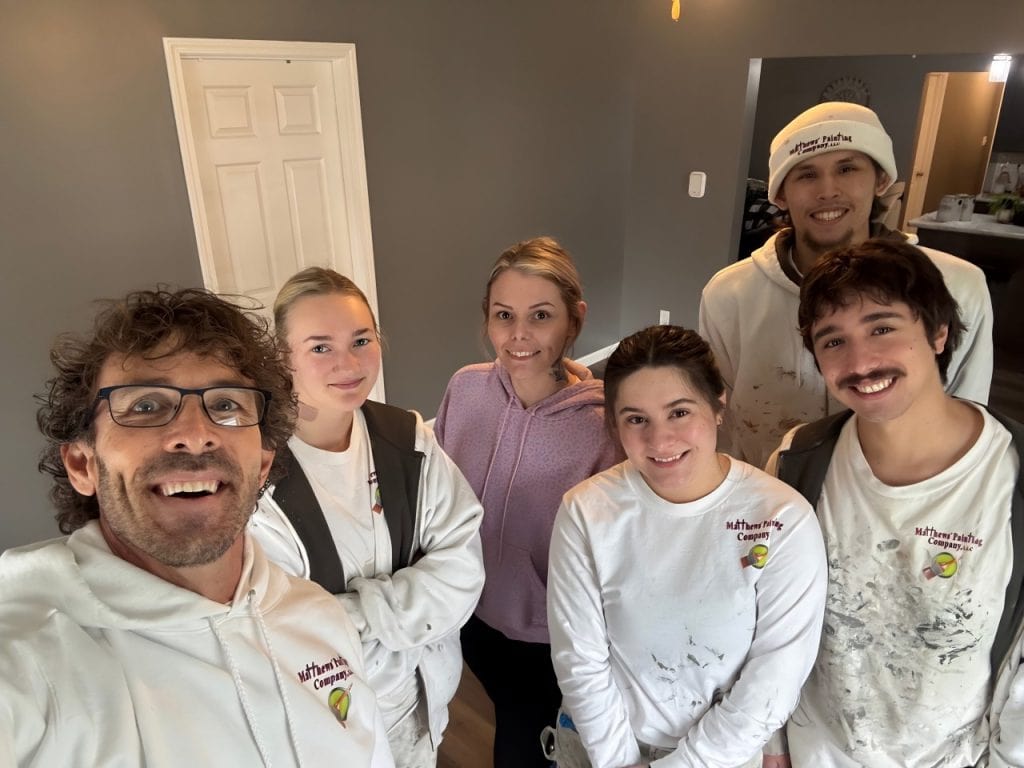
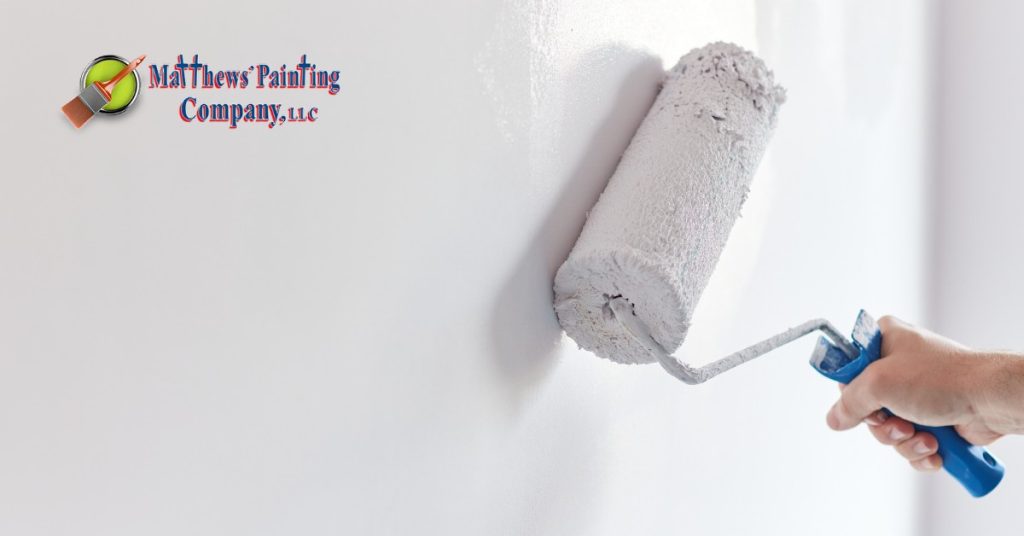
At Matthews’ Painting Company, we train our professional painters to not only paint but also repair drywall—ensuring smooth, durable results for our clients. One of the most common drywall repairs we perform is fixing inside corners using paper tape.
In Part 1 of our Drywall Corner Repair Series, we covered the importance of using paper tape, how to apply the first coat of joint compound, and the initial steps for reinforcing damaged corners. Now, we’ll walk through the second and third coats, which are essential for achieving a smooth, long-lasting repair.
This blog is Parts 2 and 3 of our drywall repair series.
Watch Owner Jason Matthews demonstrate these techniques in the full instructional videos:
Step 1: Applying the Second Coat of Joint Compound
Once the first coat of joint compound has dried, it’s time to apply a second coat. This layer will smooth out rough edges, feather the repair into the wall, and strengthen the bond between the paper tape and drywall.
Tools and Materials Needed for Second Coat of Corner Drywall Repair
- 6-inch drywall knife (wider than the 4-inch knife used in the first coat)
- 45-minute quick-set joint compound
- Mud pan
How to Apply the Second Coat
- Prepare the Joint Compound
- Mix a 45-minute quick-set joint compound to a smooth, spreadable consistency.
- Expand the Repair Area
- Instead of using a 4-inch knife, upgrade to a 6-inch drywall knife to feather the edges outward.
- Apply Compound in Smooth Strokes
- Lay the knife flat against the wall to spread the compound evenly over the first coat.
- Remove Excess Compound
- After covering the repair area, lift the knife slightly to remove extra compound without pulling too much mud away.
- Let the Second Coat Dry Completely
- Drying times depend on humidity and compound type, but it’s essential to wait until the surface is fully hardened before applying the final coat.
Pro Tip: If applying compound to both sides of the corner is difficult, you can complete one side at a time—just make sure the first side has hardened before starting the second.
Step 2: Applying the Third and Final Coat of Joint Compound
The third coat is crucial for achieving a flawless finish. It eliminates any visible tape lines, feathers the edges further, and ensures the repair blends seamlessly into the existing wall.
Tools and Materials Needed
- 6 -8-inch drywall knife
- 45-minute quick-set joint compound
How to Apply the Final Coat
- Increase the Knife Size
- Use a 6 -8-inch drywall knife to extend the repair area and create a smoother transition between the repair and the original wall.
- Apply Joint Compound Beyond the Second Coat
- Start above the repair and work downward, then repeat in the opposite direction.
- Spread the compound slightly beyond the previous coat to feather the edges.
- Even Out the Surface
- Use smooth, controlled strokes to apply and then remove excess compound.
- Be especially careful at the top and bottom of the tape to avoid pulling away too much compound.
- Let It Dry Completely
- Allow the third coat to dry thoroughly before moving on to sanding and painting.
Pro Tip: Some professionals work one side at a time, but at Matthews’ Painting Company, we train our painters to complete both sides simultaneously to save time while maintaining a professional-quality finish.
Final Steps: Sanding and Painting the Repaired Drywall Corner
Once the final coat of joint compound has dried, the last step is sanding and priming before applying a fresh coat of paint.
Sanding Tips for a Flawless Finish
- Use fine-grit sandpaper or a sanding sponge to smooth out any imperfections.
- Avoid over sanding, as this can remove too much compound and expose the tape.
- Wipe or brush off the surface to remove drywall dust before priming and painting.
Once the sanding is complete, apply a mid-grade primer to the repaired area before painting.
Pro Tip: If the repair is in a high-traffic area, use a durable, scrubbable paint finish to maintain its appearance over time.
Not ready to tackle the project yourself? Let the professionals handle it.
Matthews’ Painting Company offers expert drywall repair services to ensure a smooth, seamless finish before painting even begins. Our Services include:
- Expert drywall repair for stress cracks, damaged corners, and ceiling imperfections
- Advanced dust control with filtered vacuums (air scrubbers with HEPA filters) and plastic containment walls
- Top-tier painting services for a beautiful, long-lasting finish
Enhance Your Interior Painting Project
Repairing drywall corners is just the beginning. With the proper foundation set, you can move on to priming and painting for a refreshed, professional-looking interior. At Matthews’ Painting Company, we combine drywall expertise with superior painting services to ensure high-quality results for every project.
Ready to refresh your space?
Contact Matthews’ Painting Company today to schedule your free estimate for your next painting project. Call us at 574-834-3575 or Book an Estimate online, 24 hours a day to get started! Whether it’s drywall repair, interior painting, or ceiling texture, we are here to help transform your space!

