

Matthews’ Painting Company Expands Service Areas in Northern Indiana
March 21, 2025
Matthews’ Painting Offers Free Safety Services for Seniors and Veterans in Kosciusko County
May 1, 2025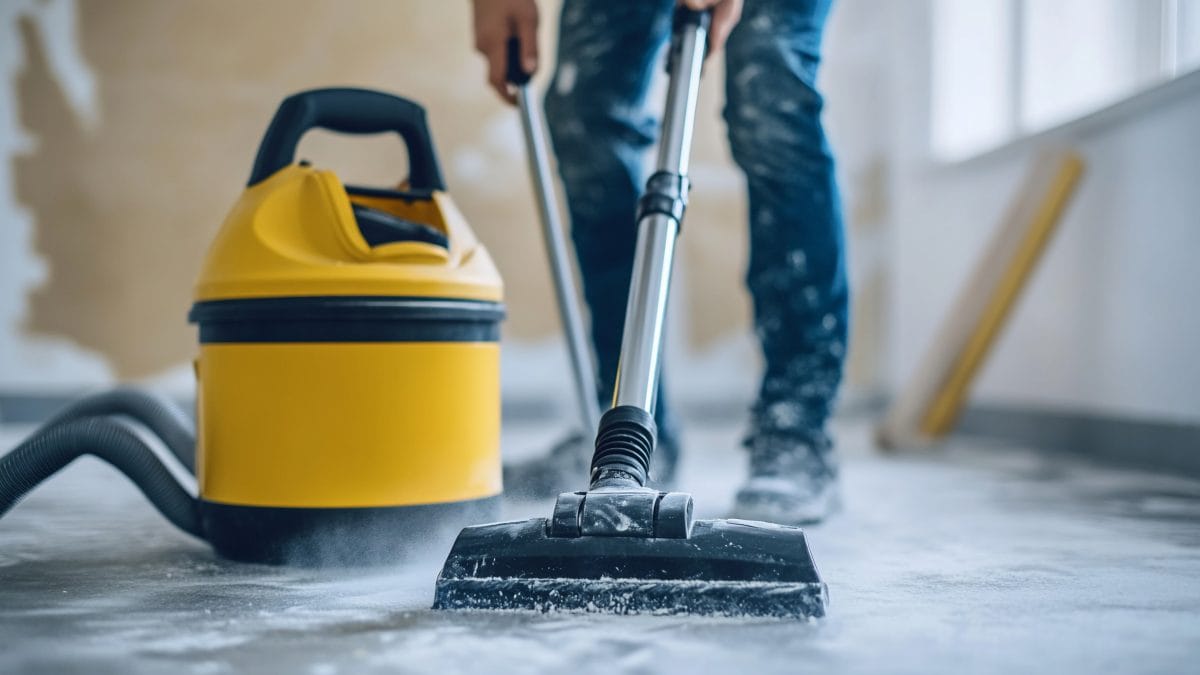
Even the most prepared professional painter can encounter the unexpected. A dropped paint can, a shifted drop cloth, or a sudden water leak can turn a clean job site into a mess in seconds. That’s why, before a spill happens, it’s important to know how to turn a dry Shop Vac into a wet vac.
At Matthews’ Painting Company, we include this essential training in our onboarding process for every new employee. Whether it’s vacuuming up sanding dust or cleaning paint out of carpet, proper use of a Shop Vac is one of the most valuable professional painter tips we can pass along.
In this blog, Jason Matthews, owner of Matthews’ Painting Company near Warsaw, Indiana, demonstrates how to safely and effectively inspect, maintain, and convert a Shop Vac for both dry and wet use—ensuring our team is always prepared to handle the job, no matter what happens.
Watch Jason Matthews demonstrate How to Turn a Dry Shop Vac into a Wet Shop Vac
Bonus Watch – How to Clean Paint Out of Carpet
Why Painters Need to Know This
Although we take every precaution—including covering floors with drop cloths and prepping every surface—spills and mishaps are sometimes unavoidable. When paint lands on carpet or water needs to be cleaned up quickly, every second counts.
Knowing how to convert a Shop Vac to a wet vac allows our painters to respond fast, protect the customer’s home, and leave the jobsite cleaner than they found it. We are able to remove the paint or liquid so thoroughly that the cleaned spot looks better than the surrounding area.
Step-by-Step: How to Use a Shop Vac Like a Professional Painter
In the first part of our Shop Vac training, we focus on inspection and setup for dry use. This ensures the vacuum operates efficiently and safely before it’s used in a customer’s home.
Step 1: Open and Inspect the Filter
- Release the side latches and remove the Shop Vac lid.
- Check the pleated filter for dust buildup, mildew, or damage. If reusable, clean it outside using a dust brush and plastic sheeting to collect debris.
- If the filter is clogged or shows signs of mildew, replace it with a new one.
- Reinstall by pressing the filter into place and securing the twist-lock cap.
Step 2: Check and Replace the Dust Collection Bag
- Gently inspect the dust bag for rips or excessive filling.
- If needed, remove and dispose of the old bag.
- To install a new bag:
- Expand it slightly and break the paper seal around the rubber gasket.
- Attach it to the vacuum port, ensuring tabs click securely into place.
- Spread the bag out inside the tank before reattaching the lid.
Step 3: Inspect the Hose and Ports
- Detach the hose and check for any clogs—common items include bobby pins, paper clips, or dried debris.
- Inspect both the suction and exhaust ports to ensure airflow is unobstructed.
- Reattach the hose to the suction side, labeled “Shop Vac,” for proper function.
After completing these steps, the Shop Vac is ready for dry applications, such as vacuuming drywall dust, sanding debris, and general jobsite cleanup.
How to Turn a Dry Shop Vac into a Wet Shop Vac
Understanding how to turn a dry Shop Vac into a wet Shop Vac is a skill every professional painter should master. This quick conversion makes it possible to remove water or paint from carpet before it causes permanent damage.
Step 1: Remove the Filter and Bag
- Open the Shop Vac and remove the pleated filter and dust bag.
- These components are not intended for wet use and can damage the vacuum if left inside.
- Once removed, close and secure the lid.
Step 2: Begin the Paint Cleanup Process
- Use a towel or putty knife to scoop up as much paint as possible.
- Pour a small amount of clean water onto the carpeted area.
- Use the Shop Vac to vacuum the water and paint mixture.
- Repeat by adding fresh water and vacuuming until the paint is removed. (It can take adding water 7 – 15 times to get the area cleaned depending on the severity of the spill. If you have a dish soap available, a few drops early on in this stage can really help.)
When performed quickly—ideally within 30 to 90 seconds of the spill—this method restores the carpet.
Step 3: Understand the Shop Vac’s Safety Features
- Shop Vacs include a built-in float mechanism that shuts off suction if the tank is full or the unit tips over.
- If you hear the motor race louder than usual (after the unit tips over), stop immediately and power down the vacuum.
- Wait for the float to reset (a soft will be heard), then power the unit back on to continue use. If the unit is full of water, empty contents first before turning the unit back on.
- This built-in float mechanism helps prevent water from damaging the motor and keeps your equipment running longer.
Common Mistakes to Avoid with a Shop Vac
Even experienced painters can make errors when switching between dry and wet Shop Vac setups. These are the most common mistakes to avoid:
- Using the vacuum for wet cleanup without removing the filter and bag
- Failing to check for hose or port blockages
- Ignoring signs that the tank is full or the float mechanism has engaged
- Skipping regular cleaning and replacement of filters and bags
By avoiding these mistakes and following proper setup procedures, professional painters can ensure their Shop Vac performs reliably on every job.
Why We Emphasize Equipment Training for Professional Painters
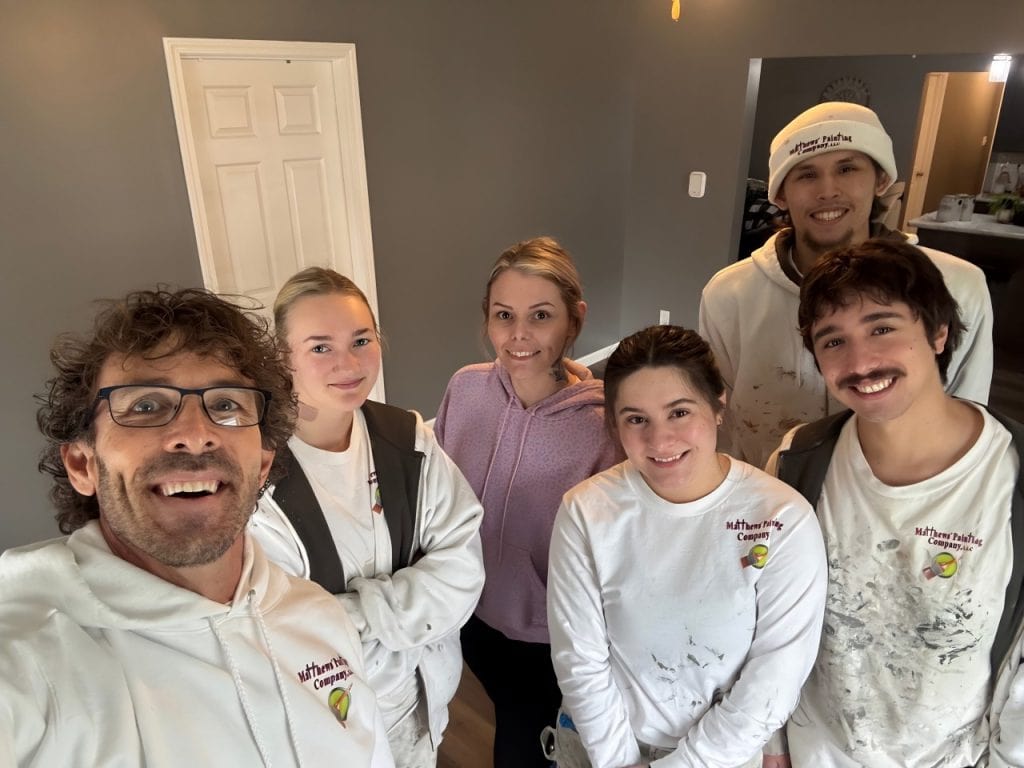
At Matthews’ Painting Company, our focus isn’t just on flawless finishes—it’s on the training, preparation, and professionalism that make flawless finishes possible. That’s why we teach our painters how to inspect, maintain, and convert equipment like the Shop Vac before they ever set foot in a customer’s home.
We’ve spent over 25 years refining our processes, training our team, and delivering high-quality results for residential and commercial clients across Northern Indiana.
Proudly Serving Northern Indiana
Matthews’ Painting Company provides professional residential and commercial painting services in Albion, Atwood, Bourbon, Bremen, Burket, Churubusco, Claypool, Columbia City, Cromwell, Culver, Elkhart, Etna Green, Fort Wayne, Goshen, Kendallville, Kimmel, Larwill, Leesburg, Ligonier, Mentone, Middlebury, Milford, Millersburg, Nappanee, New Paris, North Manchester, North Webster, Pierceton, Plymouth, Rochester, Silver Lake, South Whitley, Syracuse, Wakarusa, Warsaw, Wawaka, Winona Lake.
Need a Professional Painter?
We specialize in interior and exterior painting, drywall repair, ceiling texture matching, and more. Contact us today at 574-834-3575 or book an estimate online 24 hours a day.

