

Is Your Deck Summer-Ready? How to Clean, Stain, and Maintain with Pro Deck Staining Tips
July 23, 2025
Wallpaper Removal: The Fresh Start Your Walls Deserve
August 22, 2025
Drywall stress cracks are common in many homes—especially around door frames, corners, or ceilings—due to normal settling or seasonal shifts. At Matthews’ Painting Company, we specialize in drywall repair as part of our full-service painting and finishing work. Every member of our crew is trained not only in professional painting techniques, but also in drywall repair processes that ensure smooth, long-lasting results.
This blog walks you through the professional method we use to repair stress cracks using fiberglass mesh tape and multiple coats of joint compound.
Step-by-Step Tutorial from Owner Jason Matthews
Watch the videos:
Part 1 – Installing Fiberglass Mesh Tape
Part 2 – Applying the Second Coat
Part 3 – Applying the Third Coat
What Is a Stress Crack and What Causes It?
A stress crack is a thin, often hairline fracture in drywall that typically forms along seams, corners, or around doorways. These cracks are a normal result of your home settling over time or from seasonal shifts in temperature and humidity. Other common causes include structural movement, improper drywall installation, or even minor foundation changes. While they’re usually not serious, stress cracks can worsen if left untreated—and they can be unsightly under fresh paint.
Step 1: Apply Fiberglass Mesh Tape Over the Crack
We begin by reinforcing the crack with fiberglass mesh tape:
- The tape is sticky on one side—place it directly over the stress crack, centering the crack under the tape.
- Press it down firmly for full adhesion.
- Use a snap knife to trim the tape cleanly at the ends, then press it again to lock it in place.
This mesh tape prevents the crack from reopening over time and provides a base for applying joint compound.
Step 2: First Coat of Joint Compound
Once the tape is secure, it’s time for the first coat of drywall compound:
- Using a 3 to 4-inch drywall knife, scoop up quick-set compound (20-, 45-, or 90-minute versions work well).
- Lay the knife almost flat and push the compound into the tape and crack.
- Scrape away the excess and return it to your mud pan.
- Feather the edges slightly to keep the repair area smooth and even.
The first coat should fill the crack and embed the tape, though the tape will still be visible at this point.
Step 3: Apply the Second Coat—Wider and Smoother
Once the first coat is dry, we apply a second coat with a wider 6-inch knife:
- Load the knife with compound and apply it over the repair, extending beyond the edges of the first coat to blend the surface seamlessly.
- Hold the knife at a slight angle as you remove excess material.
- Aim for soft edges with no sharp ridges—this ensures the patch will sand down cleanly and blend with surrounding drywall.
By the end of this step, you should barely see the mesh tape through the drywall compound, if at all.
Final Steps: Third Coat and Sanding
Once the second coat has fully dried, a third and final coat should be applied using a wider drywall knife—typically 10 to 12 inches. This last coat helps feather out the edges even further, creating a smooth, gradual transition between the repaired area and the surrounding wall. After the final coat has dried, lightly sand the surface to eliminate any minor ridges or imperfections, ensuring a seamless finish that will be virtually invisible after painting.
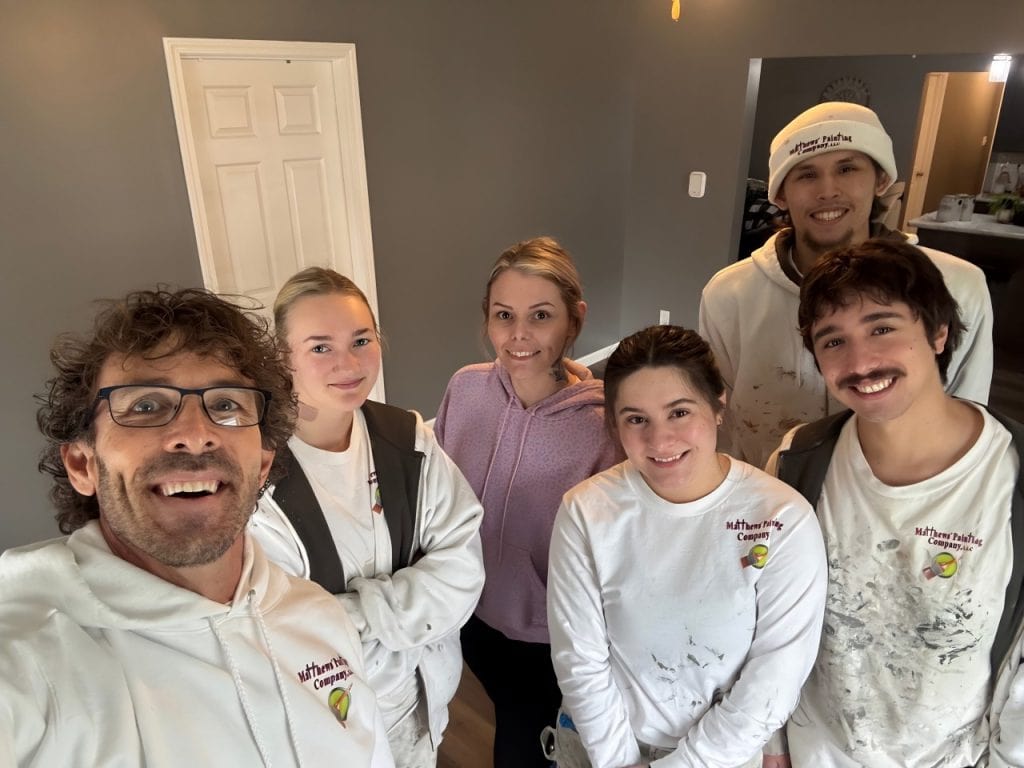
Trained Painters. Expert Drywall Repair.
At Matthews’ Painting Company, our crews are skilled not only in professional painting but also in drywall repair, ceiling texture, wood staining, and surface prep. That means we’re equipped to handle cracks, holes, and blemishes before we ever open a paint can—saving you the hassle of hiring multiple contractors.
We treat drywall repair like the craft it is, because we believe the surface under the paint matters just as much as the finish on top.
Professional Drywall Repair for a Smooth, Lasting Finish
Matthews’ Painting Company has been providing full-service drywall repair since the very beginning—more than 25 years ago. From patching the smallest nail hole or dent to repairing water-damaged sections, re-texturing ceilings, or fixing poor workmanship left by another contractor, our team delivers clean, even results that leave no trace of the damage.
Most repairs we perform receive 2 to 3 thin coats of compound applied over a wide area. This helps eliminate humps, ridges, or visible seams and ensures a final surface that looks professionally finished—because it is.
Clean Work, Healthier Homes
Drywall sanding can be messy—but we take extra precautions to protect your home and health:
- When needed, we erect temporary plastic walls to contain dust in isolated rooms or open spaces.
- An Airscrubber is run pulling the dust through a pre-filter, then a HEPA filter to keep dust to a minimum.
This attention to detail is part of our commitment to quality, cleanliness, and client care.
What We Repair:
- Holes, dings, dents—patched and sanded smooth
- Nail or screw pops—removed, re-secured, and repaired
- Stress cracks and bad drywall corners—taped and repaired
- Water damage and stains—primed with stain-blocking primer
- Textured walls and ceilings—repaired and retextured to match
- Poor or uneven past repairs—corrected for a better-than-new finish
- All drywall repairs are primed before painting to ensure proper sheen and uniformity of top coat.
Ready for Smooth Walls and Seamless Results?
If you’re dealing with cracks, dents, or drywall damage in your home, let our experienced team help. Matthews’ Painting offers professional drywall repair and expert painting under one roof—so there’s no need to hire multiple contractors. Call us today at 574-834-3575 or Schedule your free estimate online 24/7.

