
Understanding the Differences in 20, 45, and 90-Minute Joint Compound
March 7, 2025
Matthews’ Painting Company Expands Service Areas in Northern Indiana
March 21, 2025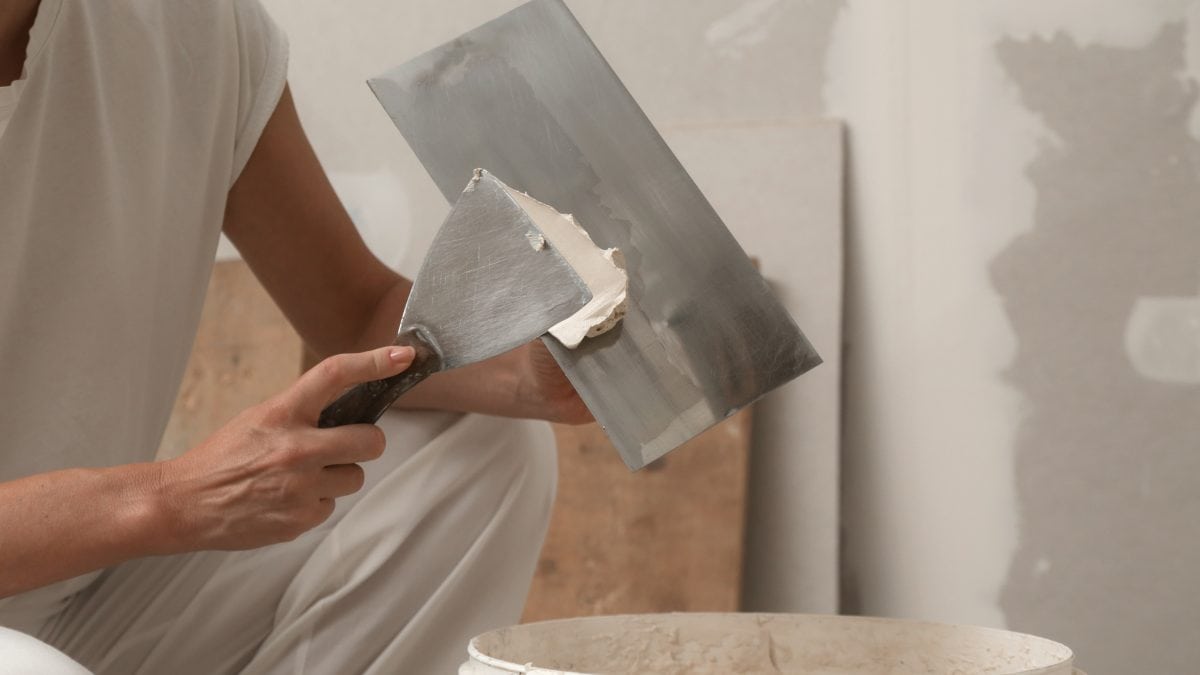
Before tackling a drywall repair, it is essential to understand the differences in 20, 45, and 90-minute joint compound. Choosing the right type of joint compound, also known as drywall mud, ensures efficiency, a smoother workflow, and a high-quality finish. As part of our drywall repair services at Matthews’ Painting Company, we use Easy Sand joint compounds, also known as quick-set joint compounds. These compounds come in 20, 45, and 90-minute varieties, each with specific advantages depending on the job at hand. The names Quickset 20, Quickset 45, and Quickset 90 are based on how quickly each joint compound sets up and dries. You can read more about the specific characteristics of each Joint Compound in last week’s blog.
In this blog, Jason Matthews, owner of Matthews’ Painting Company, explains the best practices for mixing Easy Sand joint compounds to achieve professional results.
Why Proper Mixing of Joint Compound Matters
Whether you are a professional painter or a homeowner tackling a DIY project, understanding how to mix joint compound correctly is crucial to the success of your drywall project. Different drying times impact workflow, efficiency, and final results. A poorly mixed joint compound can lead to clumps, inefficient application, and extra work when sanding and finishing. With the right technique, you can ensure smooth application and a durable finish.
Watch Jason Matthews Demonstrate Proper Mixing on YouTube!
Overview of 20, 45, and 90-Minute Joint Compound
Quick-set joint compounds are designed for different types of projects based on the required working time and drying speed:
- 20-Minute Joint Compound: Best for small repairs and fast turnarounds.
- 45-Minute Joint Compound: A balanced option for mid-sized repairs.
- 90-Minute Joint Compound: Ideal for larger projects where quick drying isn’t necessary.
The Right Way to Mix Quick-Set Joint Compound
Step 1: Preparing the Mixing Pan
Start by filling your mixing pan about halfway with joint compound powder. If the pan is too full, it becomes difficult to mix thoroughly.
Step 2: Adding Water Gradually
Instead of dumping all the water at once, add a small amount of water, mix, then continue adding more as needed. The key is to avoid letting the water completely disappear before adding more. This prevents the formation of clumps and ensures a smoother consistency in your drywall mud.
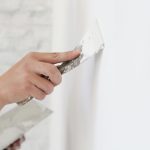
Step 3: Mixing the Compound
Using a putty knife, work the mud from the bottom of the pan while scraping the edges. Continuously turn the pan in your hand to ensure even mixing. As you mix, the clumps will break down, and within a minute, the mud should become smooth and consistent.
A properly mixed joint compound should:
- Have a smooth, lump-free consistency.
- Not just easily pour out of the pan and still have a slight jiggle to it when you shake the pan back and forth.
Common Mistakes to Avoid When Mixing Drywall Mud
Two of the biggest mistakes made when mixing a joint compound are adding the water all once – or adding in water little by little and mixing each time until the water is absorbed by the compound. (To see this demonstrated, watch our YouTube video). Both mistakes make it harder to remove clumps, requiring more effort and time. Additionally, improperly mixed-mud can leave clumps on the wall, making sanding and finishing more difficult.
The Wrong Way to Mix Quick-Set Joint Compound
Many people make the mistake of:
- Adding all the water at once.
- Mixing until the water is completely absorbed.
- Realizing the mixture is too dry, and adding more water.
- Repeating this cycle, making it difficult to break down clumps and achieve the right consistency.
By following the correct process of gradually adding water while mixing (without letting water fully be absorbed), you’ll create a smooth, easy-to-apply joint compound that enhances the quality of your repairs.
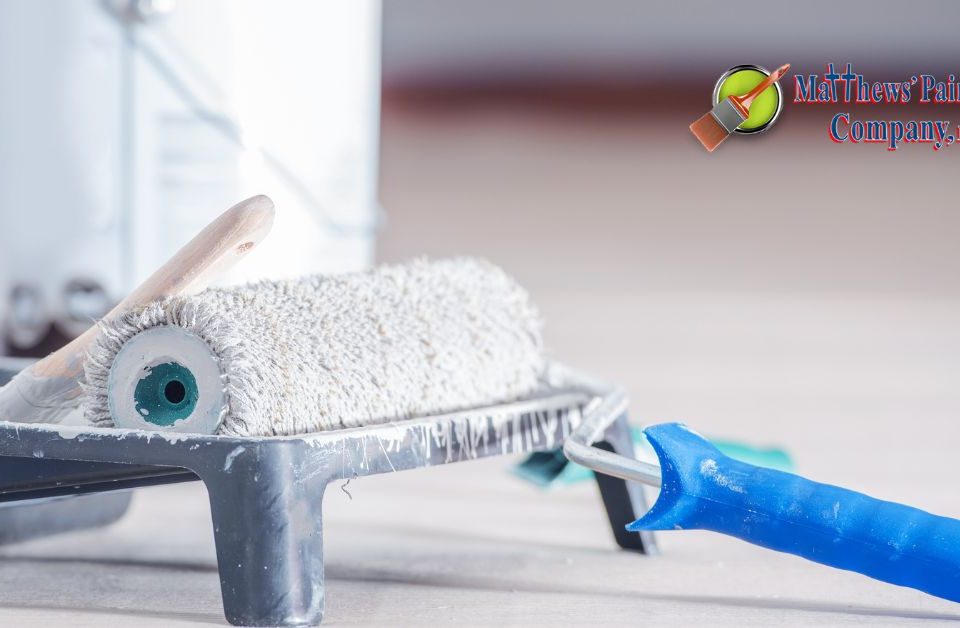
Full-Service, Professional Drywall Repair
If tackling drywall repair feels like too big a task, give us a call! Matthews Painting Company has been in full-service Drywall Repair since they started their painting and drywall repair business over 25 years ago. Some of our Drywall Repair Services Include:
- Holes, dings, dents, etc., are patched and sanded smooth.
- Nail or Screw Pops are removed if necessary, replaced with new screws 1 inch above or below the area, and repaired accordingly.
- Stress cracks or bad drywall corners are fiberglass or paper taped first, then repaired accordingly.
- Water damage and stains on drywall are primed with a stain-blocking primer.
- Textured walls or ceilings are repaired and re-textured to closely match the original drywall texture.
- Poor drywall repair or texture work that exists from a previous painter or drywall contractor can be repaired to almost new-looking again.
- All drywall repairs are primed prior to painting.
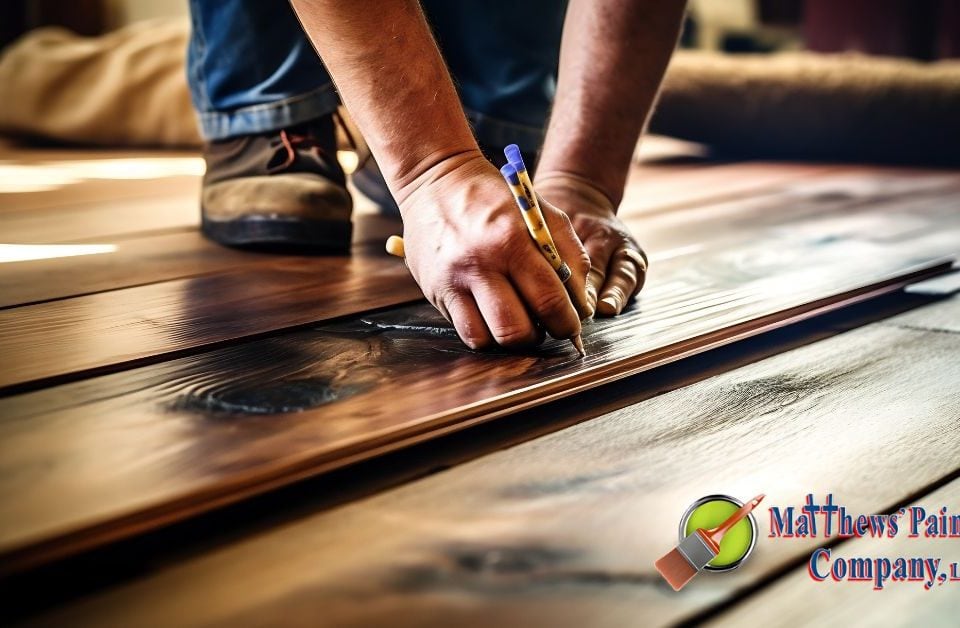
Ready to Refresh Your Space?
At Matthews’ Painting Company, we specialize in drywall repairs, interior and exterior painting, and ceiling texture matching. Contact us today for a free estimate on your next project. Call us at 574-834-3575 or book an estimate online anytime.
